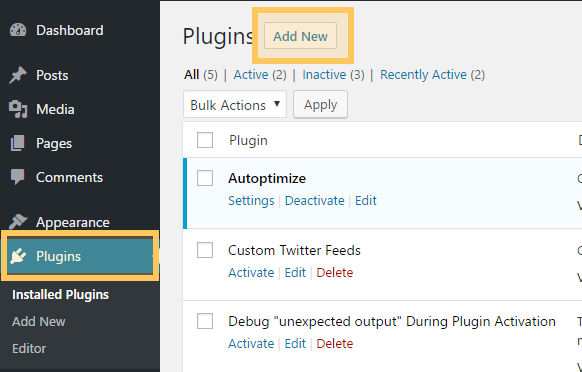
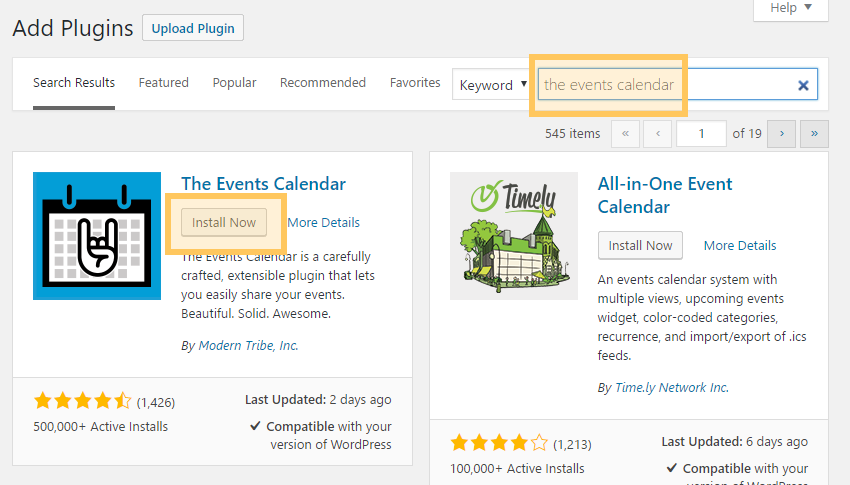
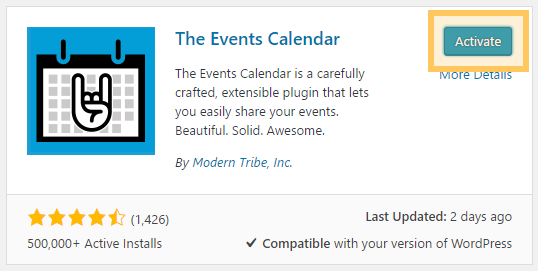
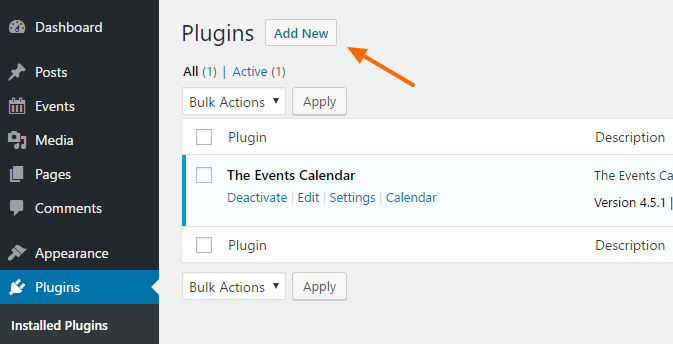
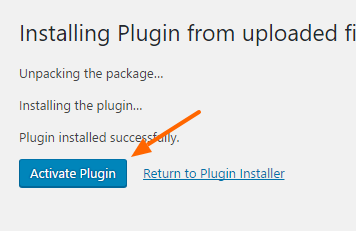
1. Install and activate The Events Calendar by Modern Tribe. You can do this from the WordPress plugin repository following these steps:
- Navigate to the Plugins page from your Dashboard. Click on Add New near the top of the page
- In the search box, type in “the events calendar”. Click Install in the box for The Events Calendar.
- Once the plugin has installed, the “Install” button will now be labeled “Activate”. Click the Activate button
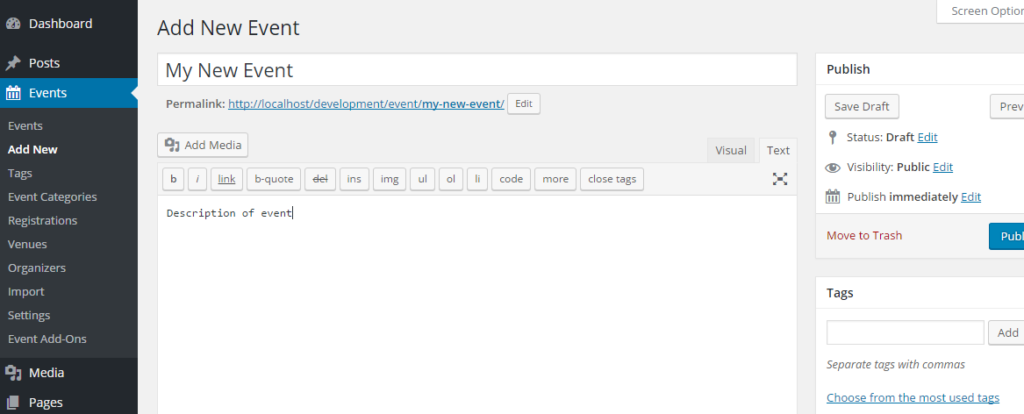
2. Create a new event by going to the WordPress dashboard and navigating to Events -> Add New
3) Once you’ve purchased the Registrations for the Events Calendar Pro plugin you’ll be presented with the purchase confirmation screen which displays your license key and a link to download the plugin. This information is also emailed to you at the address which you provided during checkout. Take note of your license key and click on the download link to download a zip file of the plugin.
Note: You can also download the plugin zip file directly from your Account on our website.

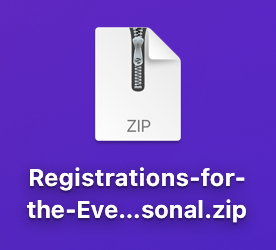
4) Once you’ve downloaded the zip file there’s no need to open it. You’ll be uploading and installing this zip file directly to WordPress.
Note: If you’re on a Mac then your OS may be set up to automatically unzip zip files when downloading. You can zip the files up again by just right clicking on the folder containing the files and clicking ‘Compress’. Alternatively, you can download the zip directly from your account.
5) If you are using the free version of the WordPress plugin then be sure to deactivate it prior to installing the Pro version.
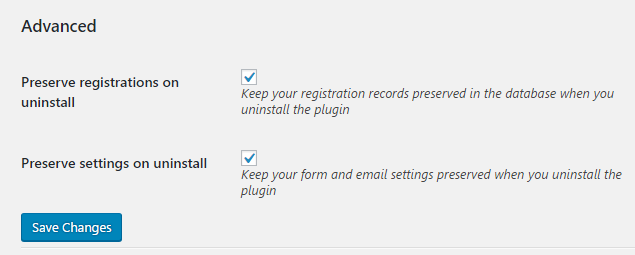
Note: To transfer your settings and registrations from the free version to the Pro version just do the following:
- Check the ‘Preserve registrations on uninstall’ and ‘Preserve settings on uninstall’ options on the plugin’s ‘Form’ tab

- Click any “Save Changes” button
- Deactivate and uninstall the free version
To upload the Pro version of the plugin click Add New at the top of your WordPress Plugins page.
6) Click Upload Plugin at the top.
7) Browse to the zip file which you downloaded when you purchased the plugin and click Install Now.
8) Activate the plugin.
9) You’ll now see the Registrations menu appear in the sidebar of the WordPress dashboard. Navigate to the License & Add Ons tab to enter your license key.
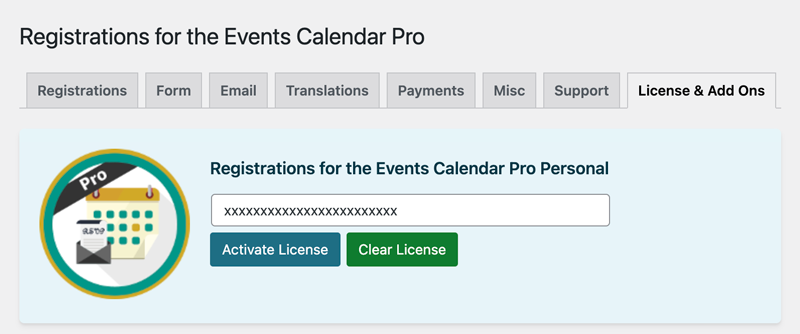
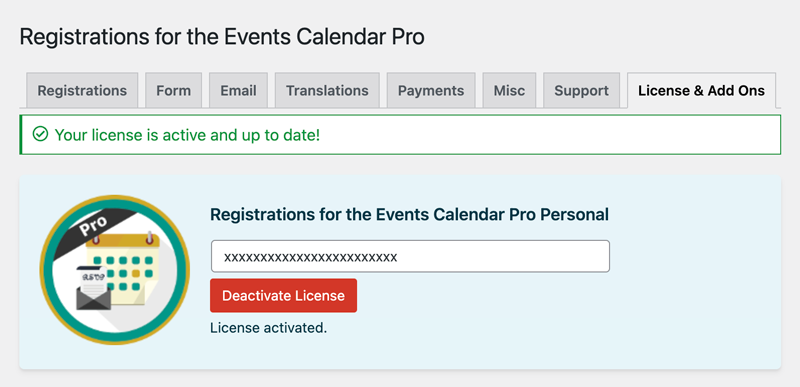
10) Paste your license key into the field and click Save Changes.
11) A registration form along with the default required fields of “First Name, Last Name, and Email” will appear on every upcoming event’s page. To disable registrations for any event, you can do so on the “edit” event page by navigating to Events->Events from the dashboard. You can also disable registrations for all events by default by using the option on the “Form” tab.
If you are looking for additional guides on different features the plugin has, use our FAQ page. Here are some of the currently posted guides:
Guide to Creating and Editing Forms
Guide to Setting Up Payments with PayPal
Guide to Using Multiple Venues/Tiers
12) This plugin may send a lot of emails with normal use. We recommend using a third party SMTP service for the best possible experience for you and your guests. Although there are a lot of options such as gmail and mailgun, we have found Postmark to be the easiest to set up for the plugin’s needs. Take a look at this guide on how you can use it:
