Our pro version allows you to collect payments online from your event’s attendees. After completing the registration form, the cost of the registration is displayed and the registrant is prompted to complete payment. Use this guide to learn how to configure the PayPal payment gateway to accept payments for your events. If you want to use another gateway, read our related article for what other gateways can be used.
Accept Live Payments
1) Set up an account with PayPal.
If you don’t already have a business account with PayPal, you can sign up for one for free right on their website. You will need to use the email address that you used to create the account to collect payments.
2) Add your PayPal email to the payments tab.
From the WordPress dashboard, click on Registrations and then find the Payments tab. Scroll down to find the setting for your PayPal email.

3) Configure your event to have a cost.
If you haven’t done so already, you can add a cost to your event or events that you would like to accept payments for. From the WordPress dashboard, click on Events, then find the event you would like to add payments for and click on it.
Once you’re on the Edit Event page, scroll down to find the cost setting for the event.
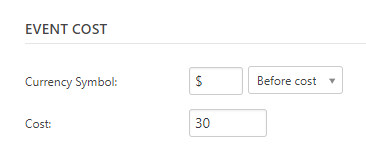
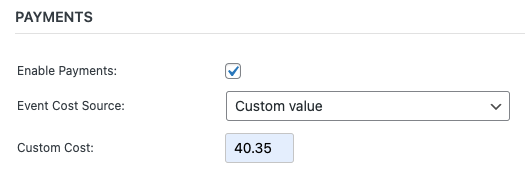
If you would like to have a cost that is different that what is displayed for the event you can change the setting shown in the “Payments” section of the registration settings for the event.
4) Your event will now accept payments from PayPal after a person registers.
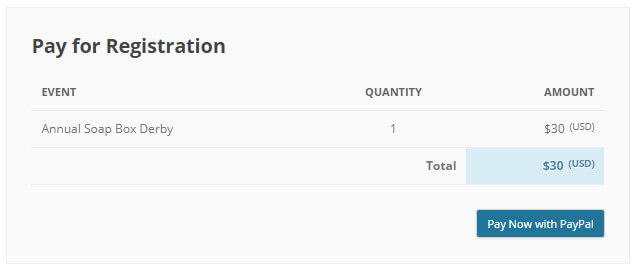
After a person registers for an event that has a cost and has payments enabled, a notice will appear that the attendee needs to pay for the event. The cost will be relative to the total number of people being registered for.
Individual Event Settings
Even if an event has a cost, you can disable the payments feature by using the checkbox on the Edit Event page.
Testing Payments
The plugin also allows you to test out the registration flow with payments enabled. You can do this through PayPal’s sandbox mode or also just a simple test payment process within the plugin.
To set up test payments using PayPal’s sandbox mode, first set up a sandbox account using the PayPal developer site. You will need a business account with PayPal to use this. See PayPal’s guide for more help setting this up.
Once you have a sandbox business account configured, add the email address to the PayPal Email Address setting on the Payments tab and enable the option to use Test Mode
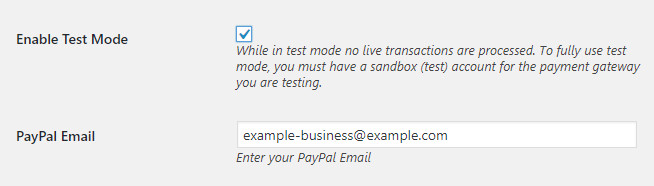
To test the payments feature without using PayPal’s sandbox mode. Enable Test Mode but leave the PayPal Email Address field blank.
Adding Discounts
You can include discounts for your events based on the attendees membership status (whether or not to they are logged-in to your WordPress site) as well as based on their selection for a tier or venue using the multiple venues/tiers feature.
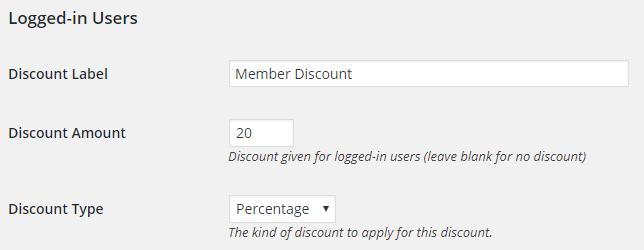
To add a discount for logged-in users of your site, go to the “Payments” tab and scroll down to the “Logged-in Users” section. You can add a percentage or a flat amount discount based on your preference.
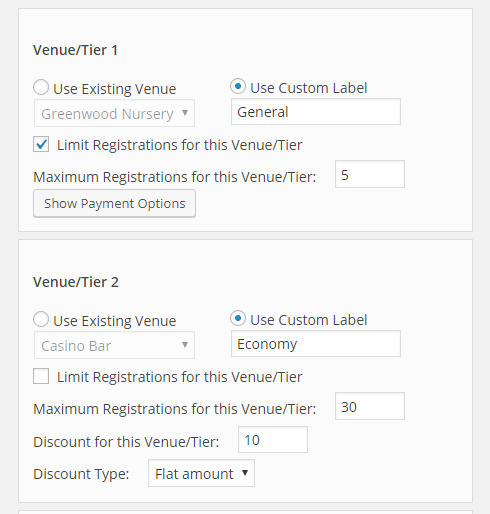
You can also configure your venues and tiers from the multiple venues and tiers feature to include a discount. Click the “Show Payment Options” button to reveal the settings.
Manual Payments
If your attendees are allowed to pay at the event or can pay through a means other than PayPal, you can configure the manual payments settings to give additional instructions for payments.
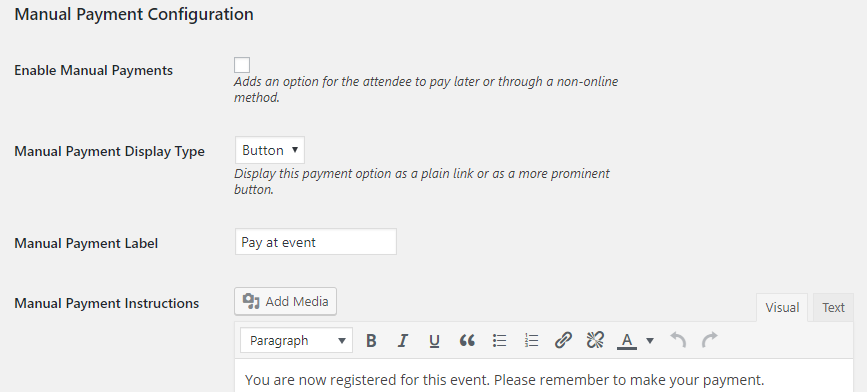
1) Enable Manual Payments on the Payments tab.
Find settings to enable manual payments, provide instructions, and change the labels of buttons.
2) Confirm Attendees After Payment is Made.
To send a confirmation email with instructions for a manual payment, make sure that you have your confirmation condition set to confirm only after payment has been made. This setting is on the “Form” tab.

3) Create an Email Just For Manual Payments.
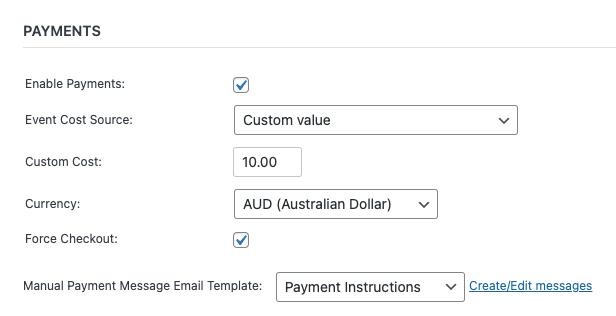
You can configure your confirmation email for manual payments for each event on the “Edit Event” page. This is in the section for Payments.

Use the template {payment-table} to add a breakdown of the event cost for the attendee.
Note: Force the event to keep payment records
To show the checkout screen even if the event has no cost, use the “Force Checkout” setting for the event.
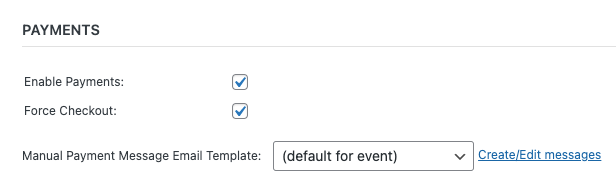
All attendees will be sent a receipt and those with a cost associated with the registration will be asked to complete a payment.